If you’re looking to set up a reliable, cost-effective trail camera network, the Cuddeback CuddeLink L-Series system offers a powerful solution—whether you want cellular image delivery or just local access. In this guide, we’ll walk you through how the L-Series works, how to set it up properly, and how to get the most out of your investment.
At Farmstead Outdoors, we’ve installed and supported CuddeLink systems on properties of all sizes, and we’re here to simplify the setup process so you can monitor your land with confidence.
What Is the CuddeLink L-Series System?
The CuddeLink L-Series is a wireless trail camera network that links up to 23 remote cameras to a central home unit, which transmits images to your phone, email, or app via a single cellular data plan. Unlike most cellular camera systems that require individual cell plans for every unit, CuddeLink uses just one, starting at only $10 per month.
The L-Series includes:
- L-Series Home Unit – the central hub that receives images from your remote cameras and sends them via cellular service.
- L-Series Remote Cameras – trail cameras that send images to the home unit using a proprietary wireless mesh network (no cell service needed).
Key Benefits of the L-Series System
- One cell plan covers up to 23 cameras
- No need for cell service at each camera location
- Remote camera images forwarded to the home unit and then sent to you
- Use with or without a cell plan
- Easily switch between Verizon and AT&T online
- Advanced power options and solar compatibility for year-round use
Getting Started: How to Set Up Your CuddeLink L-Series System
1. Activate the Home Unit
The L-Series Home Unit acts as the network hub. Open the front door of the unit and scan the QR code to activate it at Cuddeback.com. You’ll be prompted to:
- Choose your cellular provider (AT&T or Verizon)
- Select your data plan (monthly or annual)
- Complete a simple cell test to confirm signal strength
???? Tip: If you’re unsure which carrier offers better coverage, you can switch providers online within minutes—no need to change hardware.
2. Set a Unique Network Channel
Think of it like a walkie-talkie frequency—all cameras must be on the same unique channel to communicate. Avoid default channels like 0101, which are commonly used and could cause interference.
Choose a custom channel (e.g., 1123) and assign it to the home unit and all remote cameras.
3. Assign Individual Link IDs
Each device (home or remote) needs a unique link ID. Start with “1” for the home, and then label your remote cameras sequentially (2, 3, 4, etc.). Avoid duplicate IDs, as the system won’t recognize them properly.
4. Configure Date and Time
Set the correct date and time on the home unit. This ensures your images are timestamped correctly and aligns the whole network.
5. Set Up Remote Cameras
On each remote unit:
- Match the channel number to the home unit
- Assign a unique link ID
- Confirm network connection using the “Link Level” function (aim for 20+ signal strength for reliable performance)
✅ No need to manually route image traffic—the system automatically configures the most efficient path from each camera to the home unit, even across long distances or dense terrain.
Once linked, remote cameras will forward images through the network using the best available route, ensuring reliable delivery even in challenging environments.
Use With or Without a Cell Plan
The CuddeLink L-Series can function with or without an active cellular plan. This gives you flexibility throughout the year:
- Without a plan: Set one camera as a home unit (or use the L Home Unit) and manually pull the SD card to view all images from the entire property.
- With a plan: Activate cell service only during peak hunting seasons (e.g., September–November), then pause the plan when not in use.
This makes it a smart, scalable solution for both seasonal and year-round camera users.
Maximize Performance With External Power
Cuddeback L-Series cameras and home units are powered by 4 D-cell batteries, but for extended deployments, especially in daisy-chained networks, external power is recommended.
Options include:
- Solar panels – Available in full sun or sun-and-shade models. When installed properly, solar power can run cameras for years without interruption.
- 6D battery packs – Ideal for fall-only use; these affordable packs offer long-lasting power without solar setup.
Using solar ensures you don’t have to disturb sanctuary areas to change batteries, keeping pressure off your property while still capturing activity.
Adjusting Camera Settings Online
Once your network is deployed:
- Log in to the Cuddeback system online
- Select any camera from your dashboard
- Change delay times, flash intensity, and trigger settings
- Assign names or update link IDs
- Even command remote cameras to take test shots
????️ Note: The channel setting must be configured manually on each device. All other settings can be managed online once linked.
Build Your CuddeLink System at Farmstead Outdoors
At Farmstead Outdoors, we carry everything you need to build your ideal trail camera network:
- L-Series cameras, home units, and starter kits
- Solar panels and battery packs
- Replacement parts, mounting brackets, and accessories
- Expert support to help you plan and deploy your network
Whether you’re monitoring deer movement, securing your property, or running trail cams year-round, the Cuddeback CuddeLink L-Series offers an unmatched blend of performance, flexibility, and value.
Recommended products
-
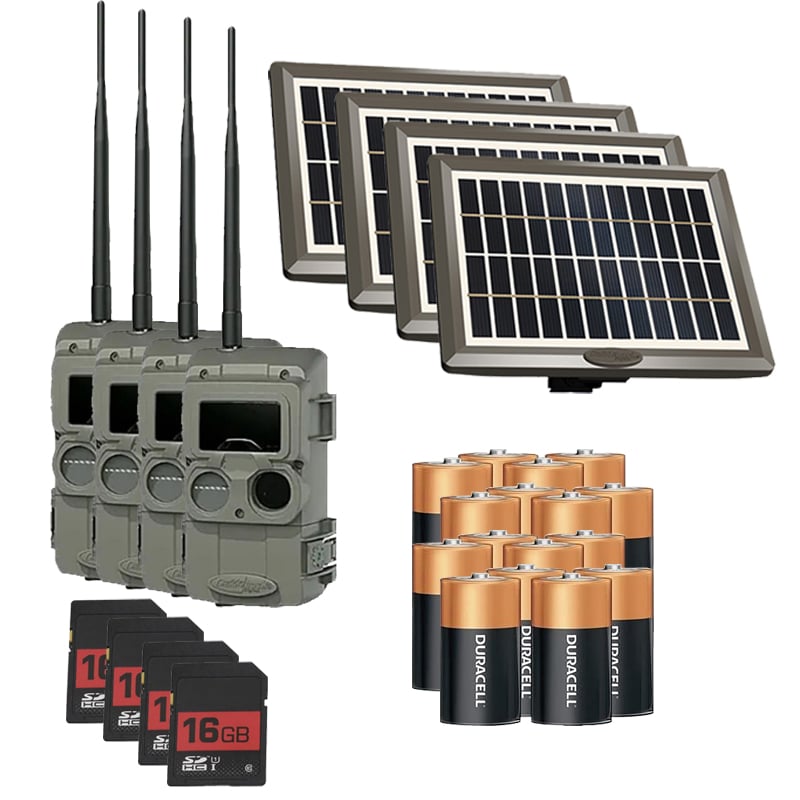
CuddeLink L-Series 4 IR Camera + 4 Solar Panel Cuddeback Camera Package + SD Cards, Batteries
Original price was: $736.00.$616.00Current price is: $616.00. -
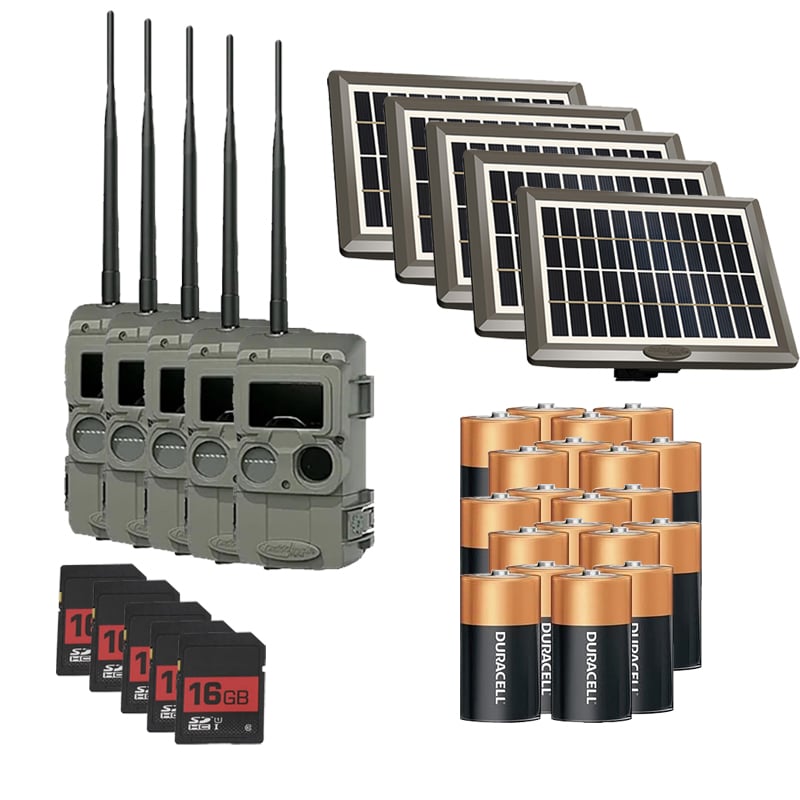
CuddeLink L-Series 5 Black Flash Camera + 5 Solar Panel Cuddeback Camera Package + SD Cards, Batteries, Solar Panels
Original price was: $920.00.$770.00Current price is: $770.00. -
Cuddeback CuddeLink Black Flash Camera 4-Pack + SD Cards, Batteries, Solar Panels
Original price was: $816.00.$616.00Current price is: $616.00. -
Cuddeback CuddeLink Black Flash Camera 2-Pack with Sun & Shade Solar, Batteries & SD Cards
Original price was: $480.00.$380.00Current price is: $380.00. -
Cuddeback CuddeLink 2+1 Cell Starter Kit IR + SD Cards & Batteries AT&T or Verizon
Original price was: $379.99.$299.99Current price is: $299.99. -
Cuddeback CuddeLink IR Low Glo Camera 4-Pack LL-2A w/ SD Cards, Batteries, Sun & Shade Solar Panels
Original price was: $880.00.$760.00Current price is: $760.00.